![]()
![]()
![]()
![]()
![]()
![]()
![]()
![]()
![]()
![]()
![]()
![]()
![]()
![]()
![]()
![]()
![]()
![]()
![]()
![]()
![]()
Interior
Featured
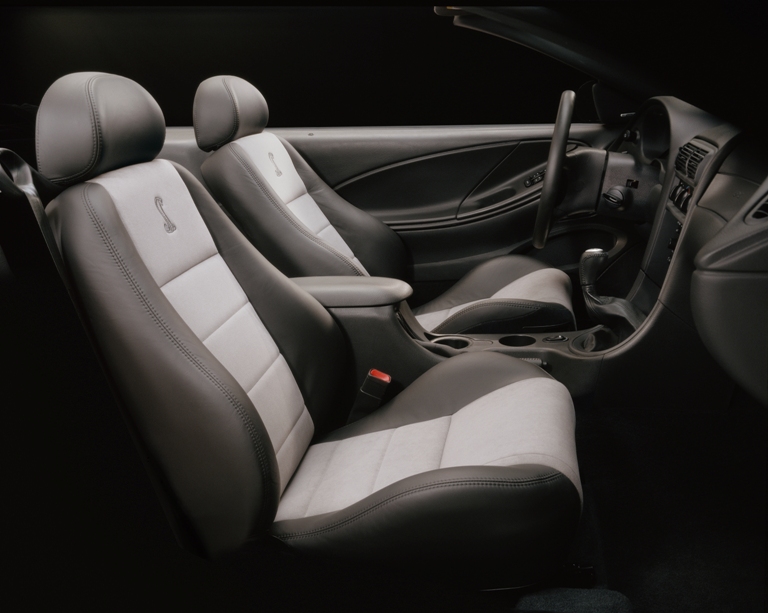
The Mustang interior has gotten marginally better over the years, but there is still room for improvement, especially when it comes to seats. If you've ever spent any length of time behind the wheel, you'll know the comfort level can definitely be taken up a notch. I knew I wanted to upgrade, but some of the so-called rice, oops, "race" seats on the market were not even slightly on my radar screen.
The only seats I would consider were those made by Recaro. One of my absolute favorites is their now-discontinued Style model - in the Topline configuration - and as luck would have it, a pair of these fantastic seats found their way in to my Cobra. While I really enjoyed seeing this project through, it wasn't as simple as just bolting them in. Not only were new sliders and custom bases needed, but a wiring harness had to be fabricated for all the power functions to work. Since it involves some detail, the seat project gets it own page. Click the picture or link below to head on over.

| Year Color: | Medium Graphite | Medium Parchment | Dark Charcoal | Colorado Red | Mystichrome |
| 2003 | M2 | MH | - | MR | - |
| 2004 | M2 | - | MW | - | MD |
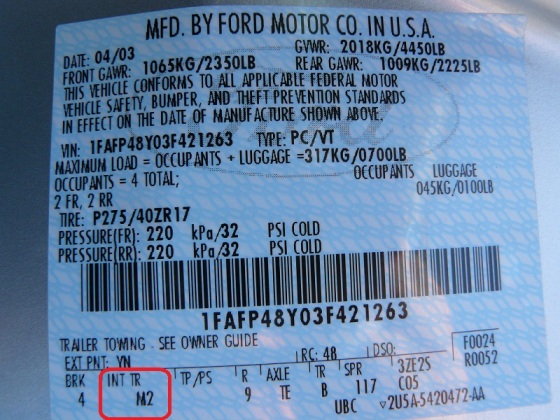
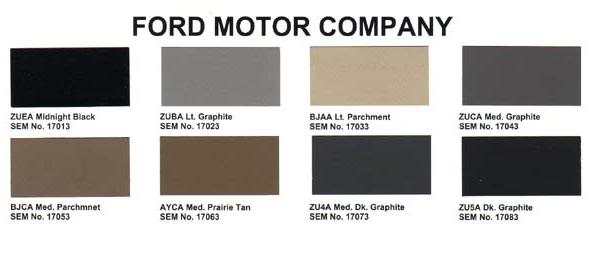
Note: The factory interior color of the Terminator is officially known as "Dark Charcoal", although Ford uses "Midnight Black" interchangeably in some cases. Along with this color, there were five options for the center sections of the seats. Other than the leather inserts that were used in the two special editions, the suede, or Alcantara fabric came in three other colors that accompanied the Dark Charcoal leather. Just for reference, the table above shows the seat insert colors and matching trim code (also found in the production numbers document).
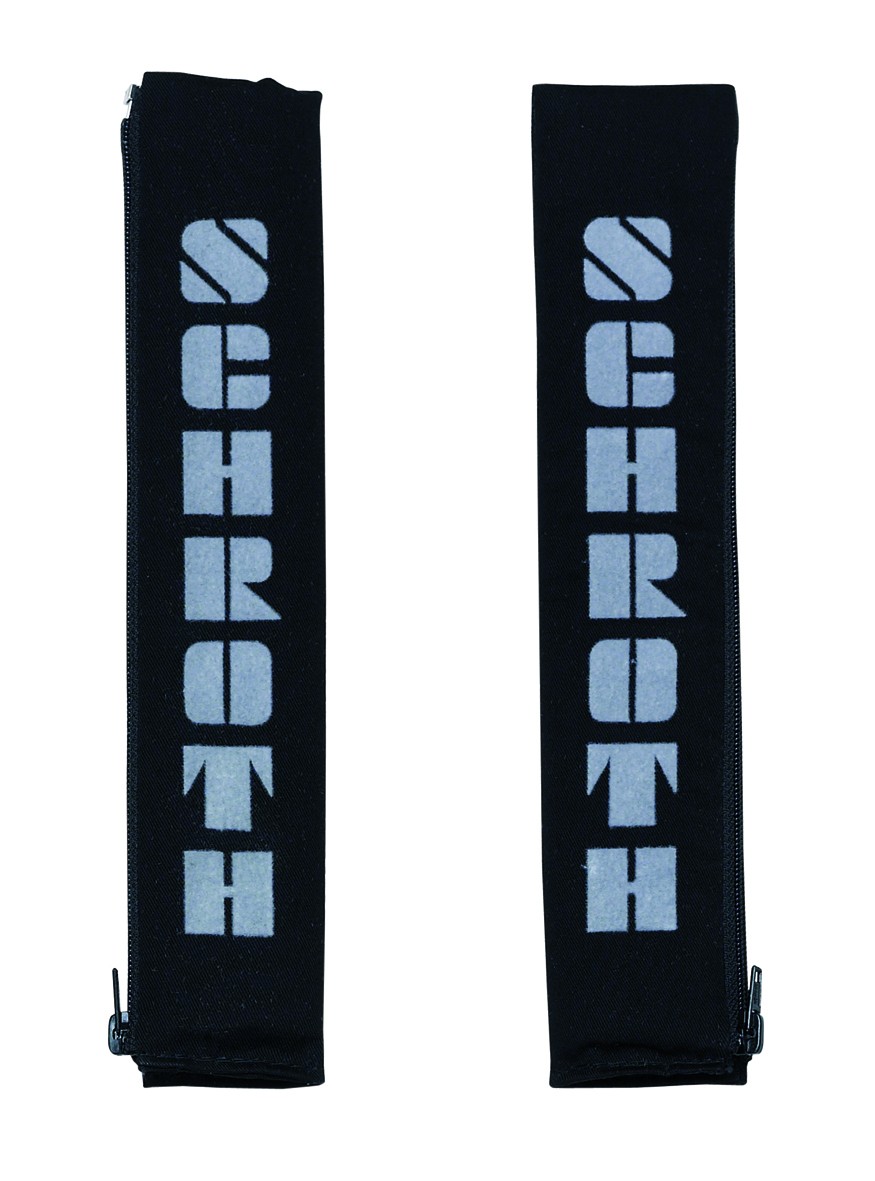
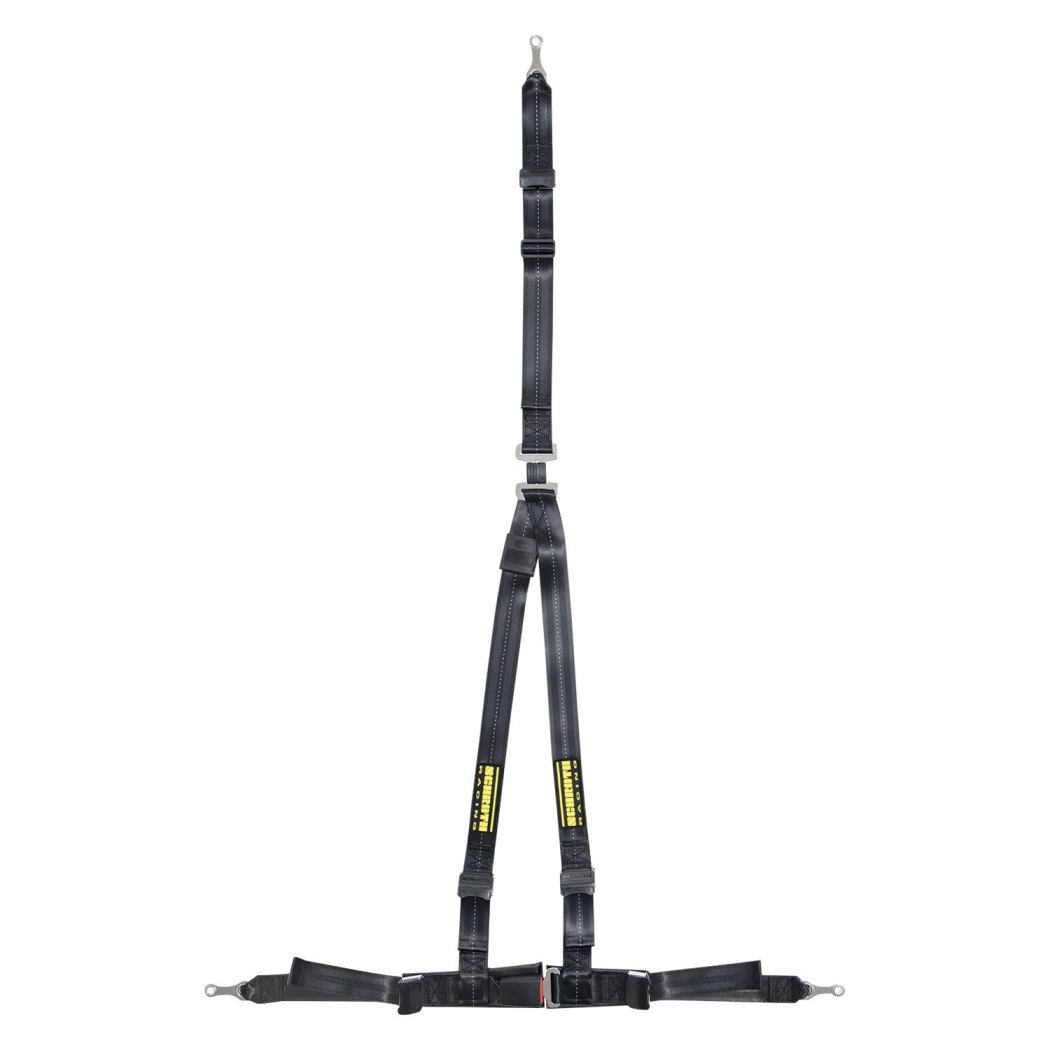
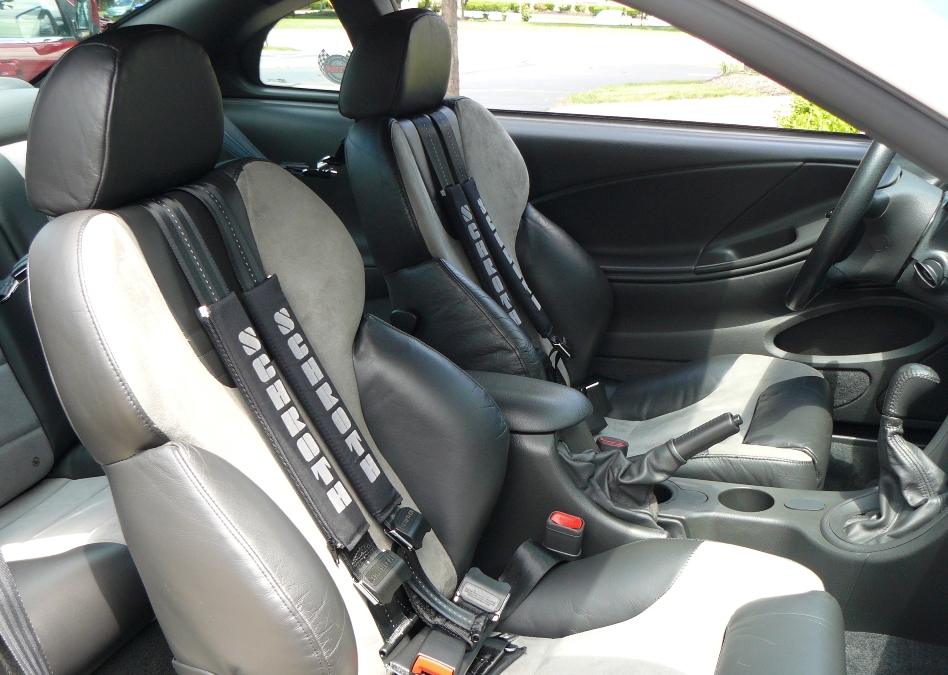
There is no sense in adding an upgraded set of seats while using only the mediocre factory seatbelts, especially for any spirited driving. Enter the Schroth Racing Rallye-3 three-point harness. Not only are they DOT-legal per NHTSA FMVSS 209, (National Highway Transportation Safety Administration, Federal Motor Vehicle Safety Standard!) they have an Anti-Submarine, or "ASM", feature that allows them to be used without the crotch strap - a real bonus. Additionally, they have detachable tail-straps, so they can be easily moved if the occasional need arises to use the factory belts.
The Rallye-3 really fits the bill, and they've proven to be ridiculously comfortable thanks to the padding on the lap belt along with the shoulder straps. For more detail on their operation and installation (which is simple, and all bolt-in), download the product manual. The picture below shows them as they are installed, along with a glimpse of my Recaro seats.
Note: If you are someone who absolutely, positively cannot accept anything but the factory seatbelts, there is another option that will at least help them out a bit: the CG-Lock. This device clamps on to original belts and allows them to be cinched "racing harness tight". I've never personally used one, but it looks like it would be sufficient in the absence of a real harness - or, if you simply don't want to spend the extra money!
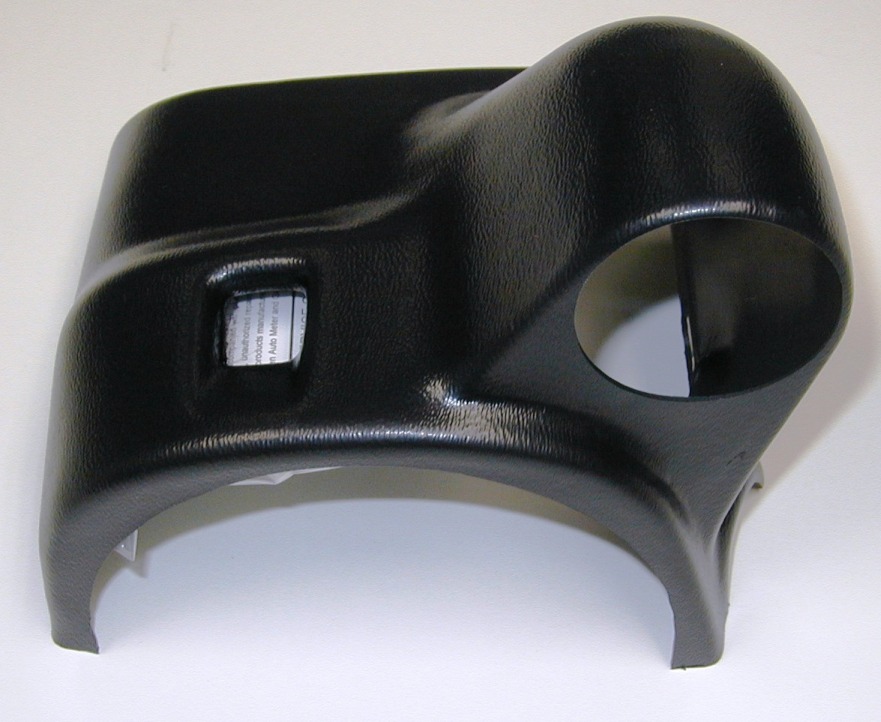 A single gauge was
what I was fine with initially. With just one gauge, the perfect location had been right on the
steering column in a pod by AutoMeter.
The thumbnail shows this pod in it's bare form, part number
10004,
which can be found for right around $35. It comes black, but not to worry, a can
of Dark Charcoal (Midnight Black) interior paint, SEM
#17013, was all that was needed to give it a factory appearance. It looked
great and put the Interceptor in a perfect position.
A single gauge was
what I was fine with initially. With just one gauge, the perfect location had been right on the
steering column in a pod by AutoMeter.
The thumbnail shows this pod in it's bare form, part number
10004,
which can be found for right around $35. It comes black, but not to worry, a can
of Dark Charcoal (Midnight Black) interior paint, SEM
#17013, was all that was needed to give it a factory appearance. It looked
great and put the Interceptor in a perfect position.
With the new-for-2016 Aluminator, I decided to add a Wideband O2 sensor kit in each exhaust bank that meant including another gauge to go along with my trusty Interceptor (details also on both my Electrical and Exhaust pages). Once I stepped up to the addition of this new Wideband kit, it was time to add a dual pod. Again, I looked to Autometer, in the form of their custom A-pillar kit. Like the steering column pod, it is black, but would be painted to match the OE trim.
When it comes to this kit, it is actually an overlay of the original factory A-pillar cover. Since the covers themselves have become obsolete from Ford, you'll either need to sacrifice the one you have, or pick up a used spare to go under the knife if you want to keep your original part (you'll probably want to cut holes in it to feed the wires more easily). It's also worth mentioning that if you do scrounge for another, be advised that there are actually two versions of them that were used in the Terminator, as shown in the cross-section image below and to the left. Thanks to an update to the crash standards, it was beefed up sometime in mid-2003 to a "jumbo" foam-filled version that ran through the end of 2004.
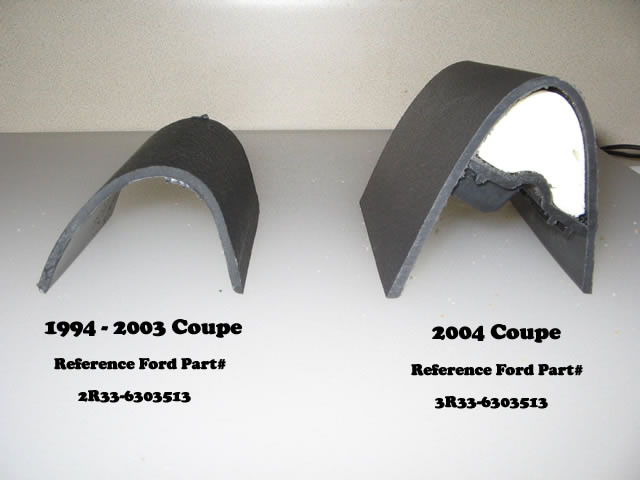
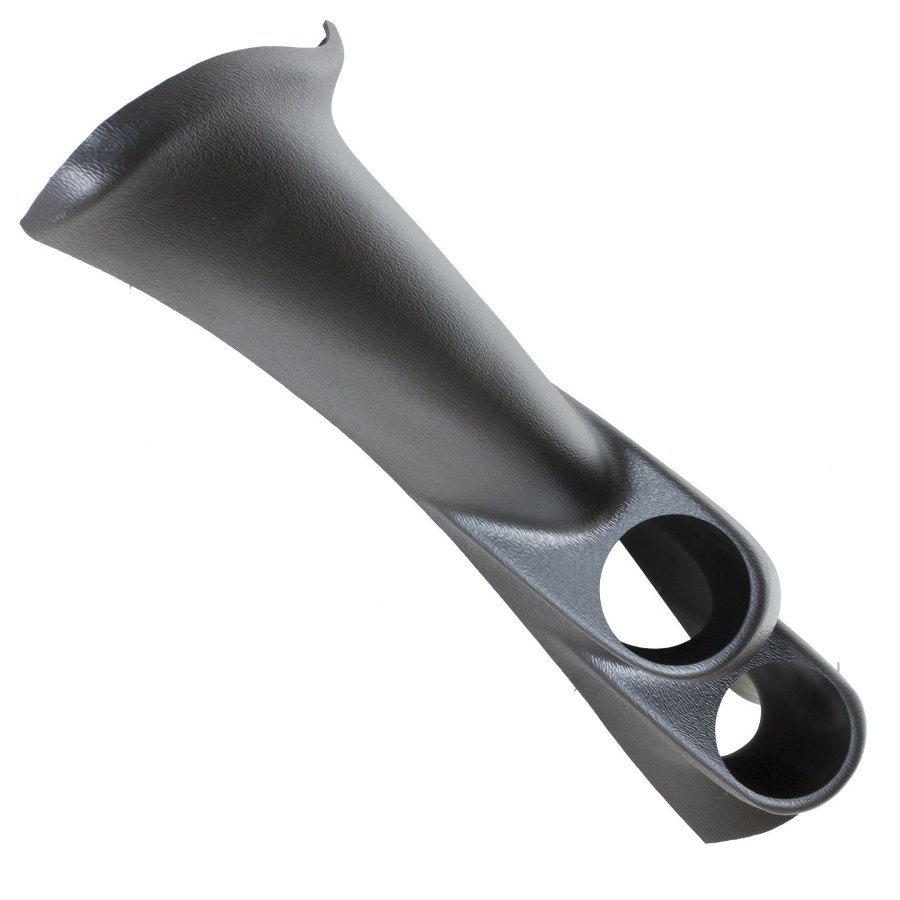
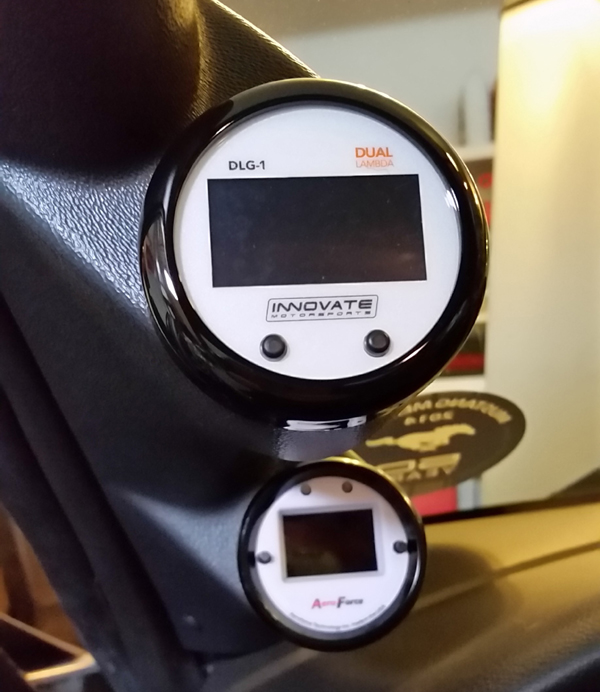
In any case, I decided that I didn't like the later covers, and swapped both of mine out for the earlier ones. Going this route actually kept the gauges closer to the A-pillar for a more streamlined look, which I preferred. Since the driver's side was going to get modified, I picked up a nice used one, then was fortunate to find a brand new passenger side cover that was a great score (the coupe part numbers, for reference, are listed on this picture taken from the "crash pages"). Additionally, the pods themselves carry different part numbers: 12122 for the later coupes (shown above), or 12120 in my case. If you want to add more than one gauge in style, this is definitely a great way to go about it.
Note: Along with the steering column pod, Autometer also makes an instrument cluster bezel that holds two 2-1/16" gauges, but I opted for the A-pillar pod. The part number for the bezel is 10005 if you prefer that look. Additionally, there is a company called GlowShift I recently discovered that makes pods and their own line of gauges that look pretty nice. If you'd like to see more, snag their PDF catalog and check them out.
 With
a little extra boost on tap thanks to the Lightning 2.93" (75mm) supercharger
pulley, it made sense to have a gauge that could read a bit higher than stock.
Since I didn't want to overload the interior with too many gauges, an overlay on
the stock instrument cluster made perfect sense. Thanks to a
Boost Overlay, this was a
snap. The original gauge that only went up to 10PSI now could read slightly more
than 15, which is perfect. For
less than an hour of your time, it's definitely a worthwhile modification!
With
a little extra boost on tap thanks to the Lightning 2.93" (75mm) supercharger
pulley, it made sense to have a gauge that could read a bit higher than stock.
Since I didn't want to overload the interior with too many gauges, an overlay on
the stock instrument cluster made perfect sense. Thanks to a
Boost Overlay, this was a
snap. The original gauge that only went up to 10PSI now could read slightly more
than 15, which is perfect. For
less than an hour of your time, it's definitely a worthwhile modification!
Note: One of the very cool functions of the Ford "Hybrid Electronic Cluster", or HEC, is the ability to enter a diagnostic/test mode to see various readings in digital format. This also includes the ability to read Diagnostic Trouble Codes, or DTC's, pertaining to the Body and Chassis (not to be confused with Powertrain codes). Unfortunately, boost is not included in any of the readings, but it is still some great information. You can download the steps in PDF format to keep handy in your car.
 I
swore up and down that I enjoyed the Mach 460 system enough to leave it
un-touched. Fortunately, I came to my senses and realized that, while it's not
all that bad, it could be improved upon. Even better, you don't have to gut the
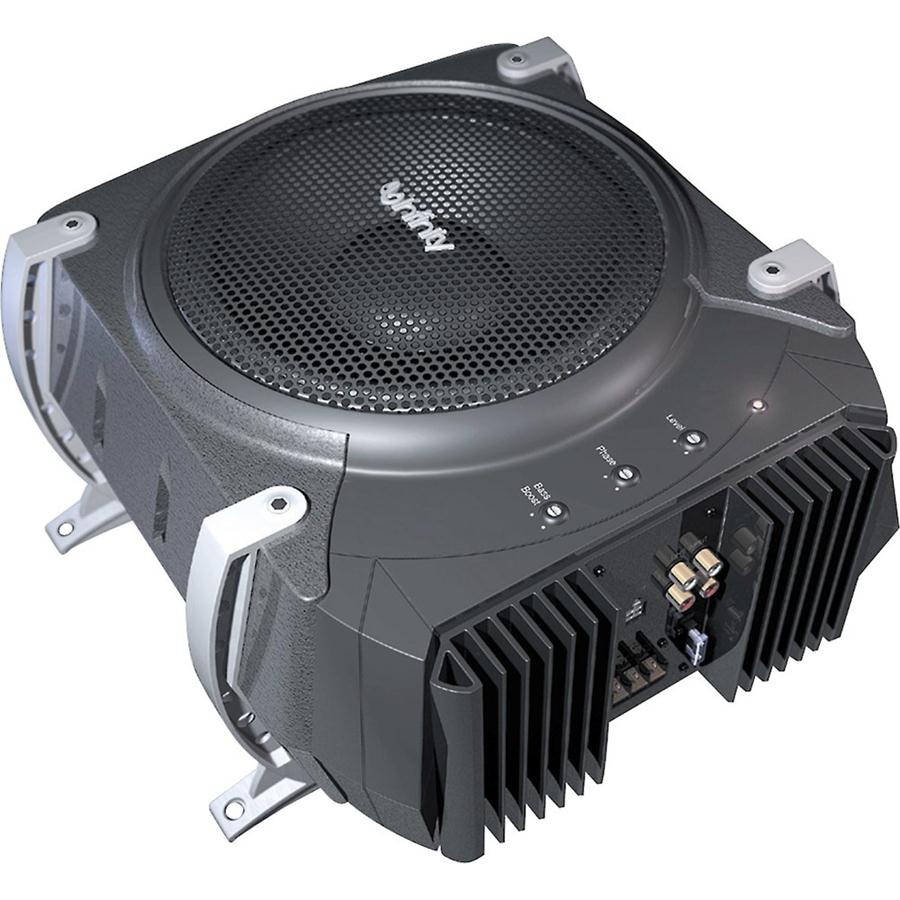
system and start over, despite "popular" opinion. On that note, I ultimately
upgraded to the Jensen CAR723W head unit combined with an Infinity BassLink amplified subwoofer. The swap
wasn't difficult at all, but like every other car project, one must plan. I
enjoyed the transformation so much that I decided to give the new audio gear its
own page. Click the picture, or link below to head on over there.
I
swore up and down that I enjoyed the Mach 460 system enough to leave it
un-touched. Fortunately, I came to my senses and realized that, while it's not
all that bad, it could be improved upon. Even better, you don't have to gut the
system and start over, despite "popular" opinion. On that note, I ultimately
upgraded to the Jensen CAR723W head unit combined with an Infinity BassLink amplified subwoofer. The swap
wasn't difficult at all, but like every other car project, one must plan. I
enjoyed the transformation so much that I decided to give the new audio gear its
own page. Click the picture, or link below to head on over there.

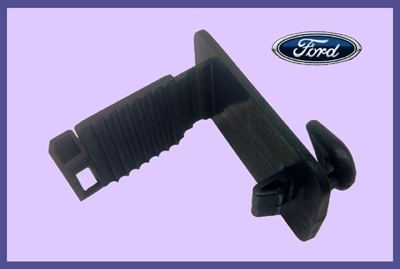
![]() One of the very minor things about the
interior that is slightly annoying was the lack of one-touch window operation on
the passenger side. Fortunately, the same module that is used on the driver's
side can be acquired easily enough and wired in to the passenger side switch. As
far as I know, these are all pretty standard through Ford, but I have seen them
in numerous colors on the used market. I'll also go out on a limb and say that I
think they all share the same Ford part number: F3AZ-14B118-A, but don't quote
me on that. If you do pick one up, be sure it has the original harness
for ease of wiring. Before I forget, here is the
wiring diagram.
One of the very minor things about the
interior that is slightly annoying was the lack of one-touch window operation on
the passenger side. Fortunately, the same module that is used on the driver's
side can be acquired easily enough and wired in to the passenger side switch. As
far as I know, these are all pretty standard through Ford, but I have seen them
in numerous colors on the used market. I'll also go out on a limb and say that I
think they all share the same Ford part number: F3AZ-14B118-A, but don't quote
me on that. If you do pick one up, be sure it has the original harness
for ease of wiring. Before I forget, here is the
wiring diagram.
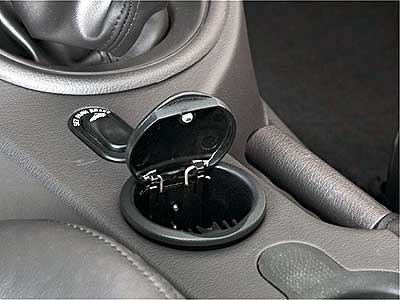
I'm not sure how many people actually use the coin holder on the lower console, but I had no use for it. If you have a convertible, it's not an issue since that is where the switch resides to raise and lower the top. Of course you could just buy a switch and pop it in to fill the space, but I chose a slightly different route: a cover plate.
 The cover in question is just a small
stainless steel plate, made by
UPR, that fits right on top of the factory coin holder. If you are content
with its brushed finish, it is just a matter of using the supplied adhesive to
stick it on. I felt that made the plate ride up a bit too high, so I removed the
coin holder and "thinned out" the top with a belt sander. I then adhered the new
plate with epoxy, which gave it a more streamlined
look.
Since I already had a can of interior trim paint, it didn't take much to blend it right
in. Useless coin holder - gone.
The cover in question is just a small
stainless steel plate, made by
UPR, that fits right on top of the factory coin holder. If you are content
with its brushed finish, it is just a matter of using the supplied adhesive to
stick it on. I felt that made the plate ride up a bit too high, so I removed the
coin holder and "thinned out" the top with a belt sander. I then adhered the new
plate with epoxy, which gave it a more streamlined
look.
Since I already had a can of interior trim paint, it didn't take much to blend it right
in. Useless coin holder - gone.
Note: The forward cup holder (right behind the coin holder) also has somewhat bugged me over the years. I've meant to add the Ford accessory ash tray to fill the space, but just haven't gotten around to it. Even though I'm not a smoker, it's nice that this "container" has a lid (probably can be painted to match as well) and could hold coins or any other loose small items. In any case, the part number for it is F8CZ-5404788-BAA, and it can normally be scored for around $15.
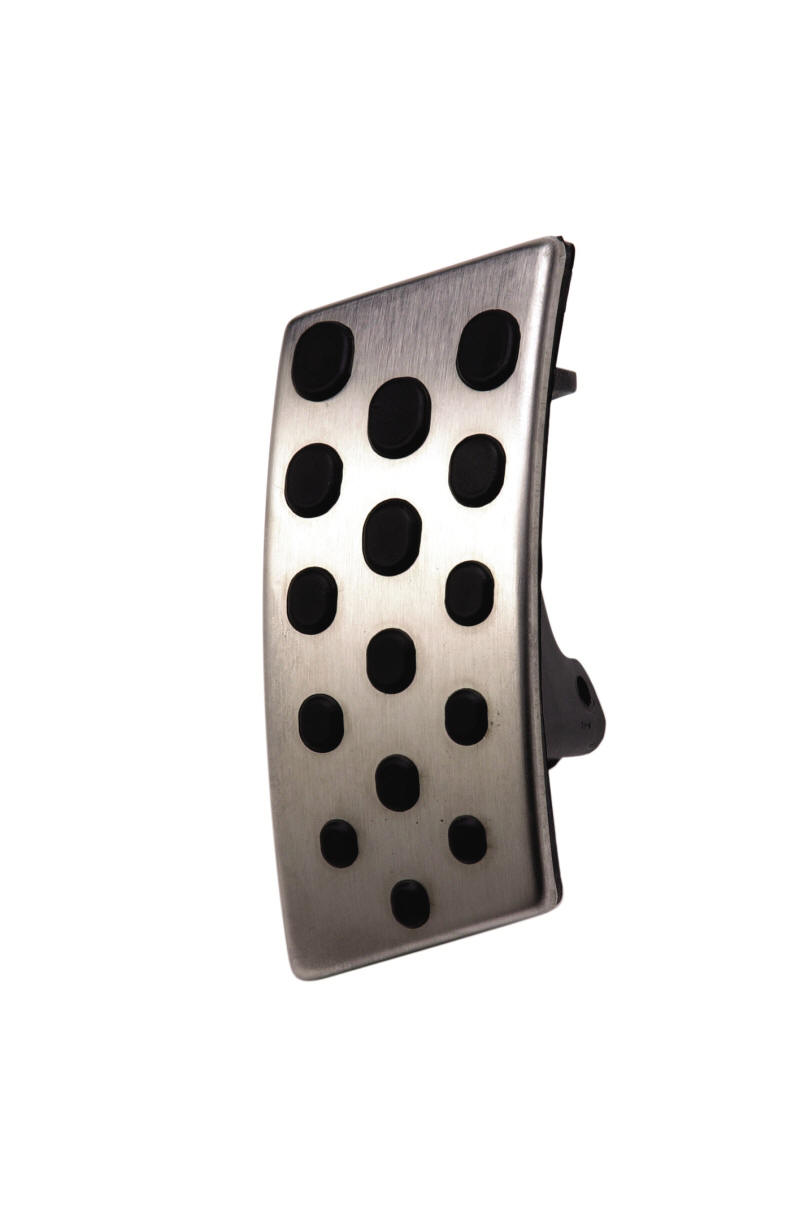
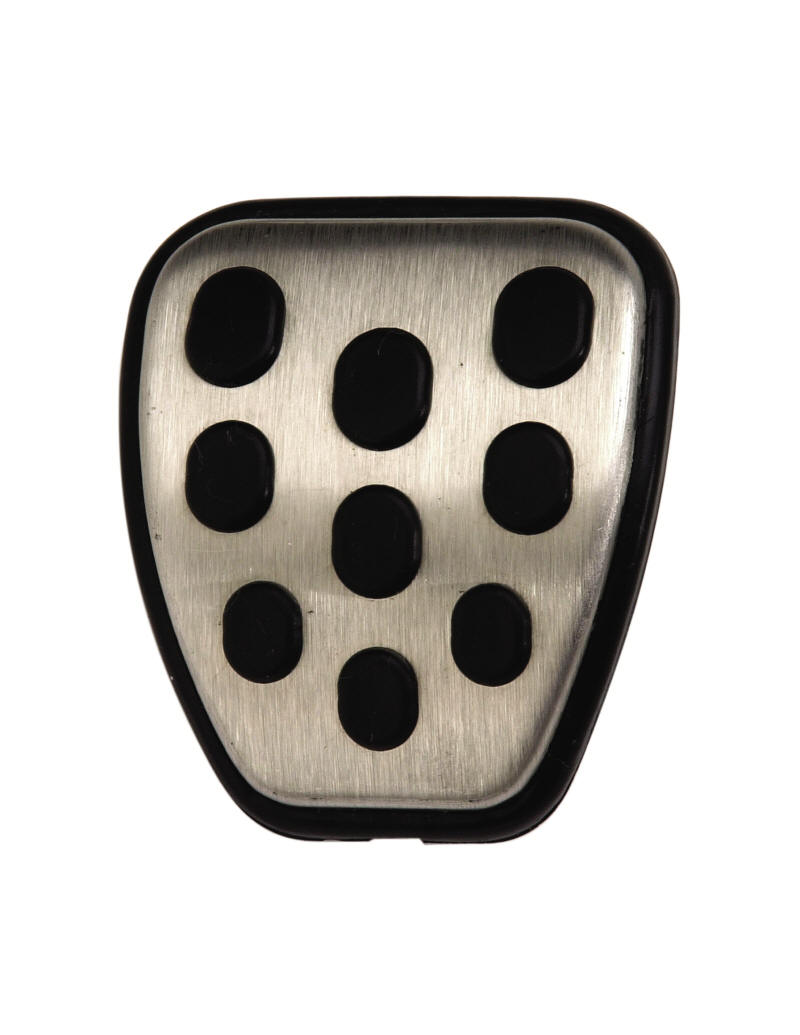
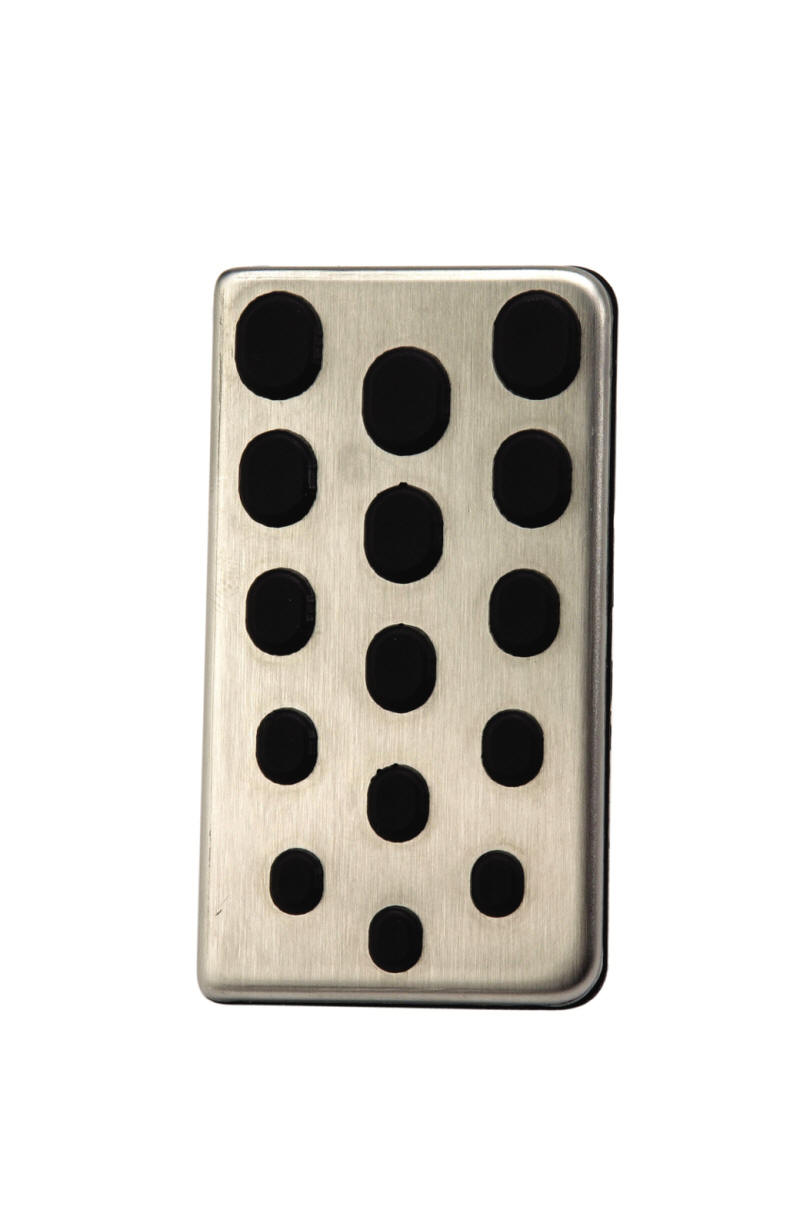
These weren't actually an option, but something all Terminators came with that were a nice touch for such a unique vehicle. Ford decided to carry the grippy aluminum pedals over from the 2001 Bullitt, and fortunately for all SN-95 Mustangs, these are an easy retrofit thanks to Ford Racing. If you happen to need a replacement set, or if you are adding them to another Mustang, the FRPP part numbers are M-2301-A for the accelerator pedal, M-2301-B for the brake and clutch (you'll need one of each), and M-2301-C for the "dead pedal".
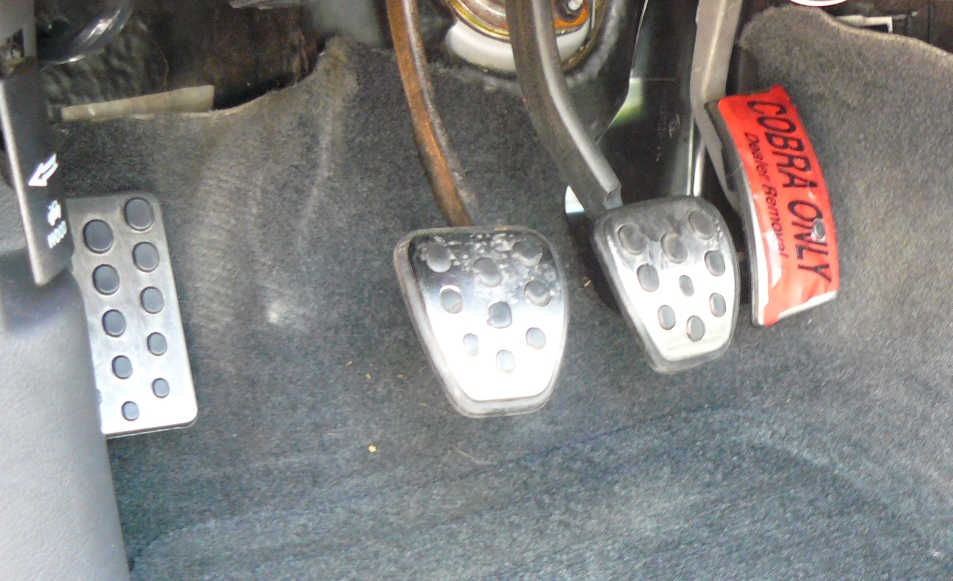
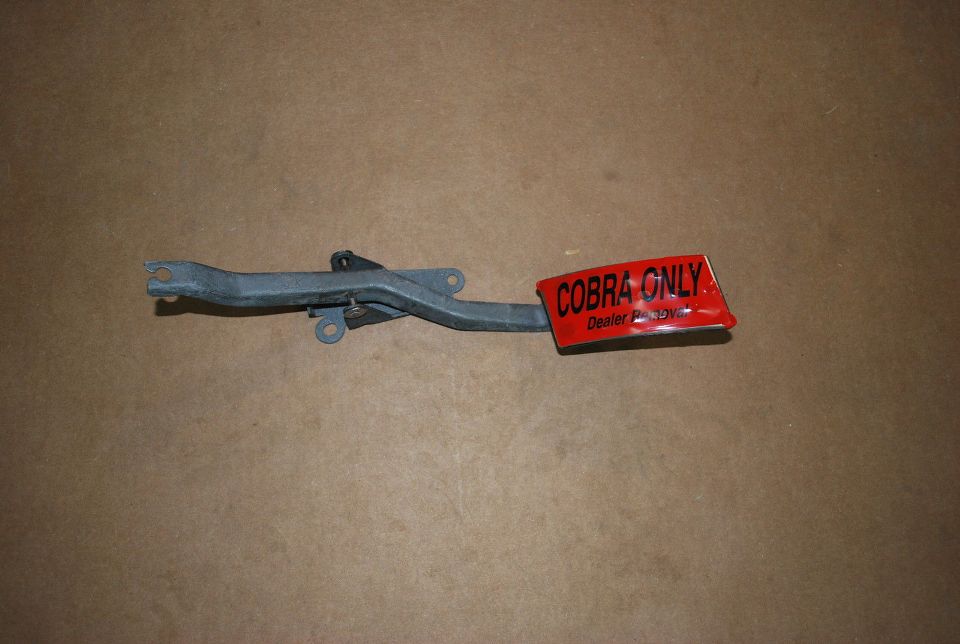
For some more trivia, all Terminators came from DAP with a red label denoting "Cobra only" as seen below (my label is still attached). Most dealers peeled it off as part of the "Pre-Delivery Inspection", or PDI, but sometimes they survived - a neat item for the Terminator history buffs. At one point, the original accelerator pedal, including the unique label, was also available through Ford as 3R3Z-9725-AA (also 1R3Z-9725-AA for the Bullitt - the same, just without the label), but it is long gone. One of the Terminator-specific pedals is in my collection and can be seen below as well.
Note: The only covers that are actually "covers" are the ones on the brake and clutch pedal. The original rubber (if you have a different SN-95) will slip right off and get replaced with the new units if you so desire. The dead pedal is a bolt-on, and the accelerator pedal pins on to the factory arm (unless you replaced the whole assembly). Also, to make it easy with the brake and clutch covers, drop them in 150° water on your stove for ten minutes to soften the rubber backing and they will slip on effortlessly!
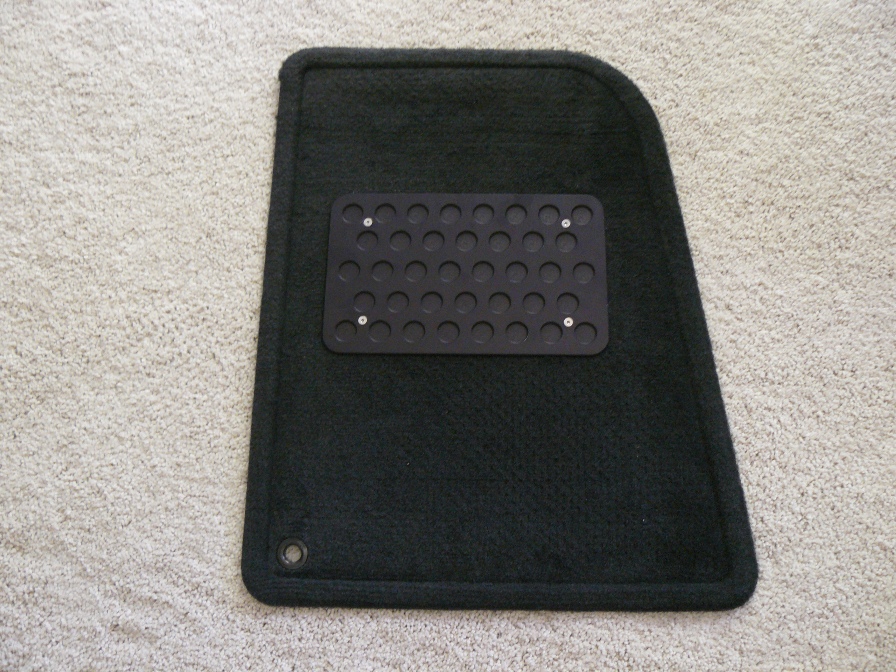
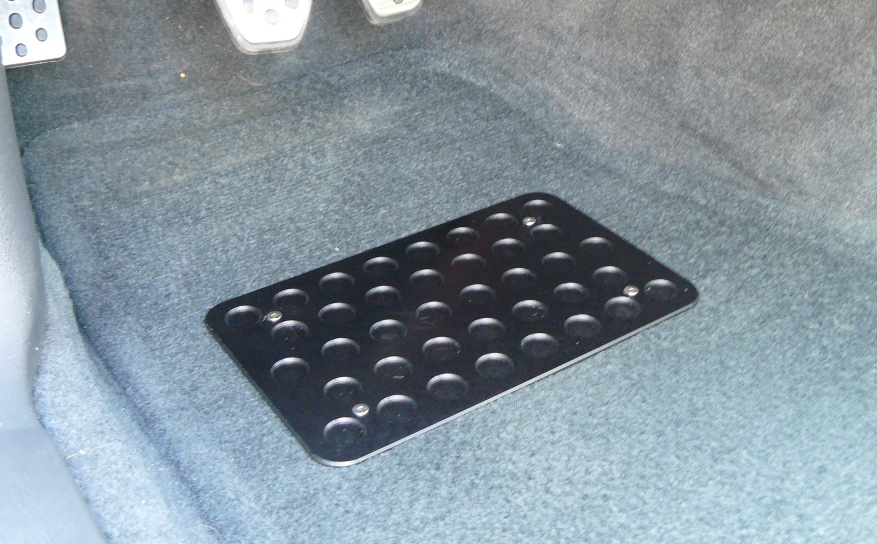
One of the unfortunate issues that arises with factory floor-mats are the heel gashes that develop from normal use. Once you wear through the mat (they are actually a bit thin), they are suited for a trash can. I thought about having a piece of another mat sewn in to reinforce the factory mat, but decided on an option I liked even better: an aluminum plate made by a now-defunct company called Autovation Technologies.
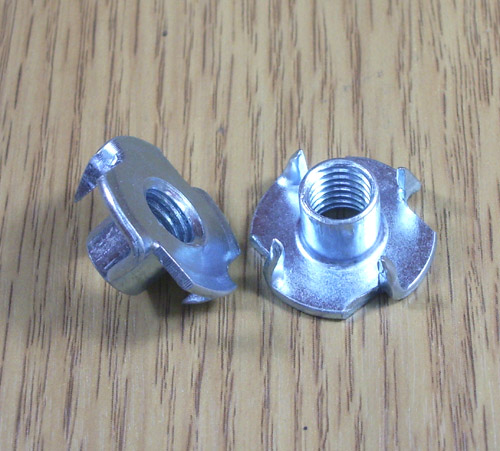
This plate fits right on top of any floor mat and gives you a solid place to rest both heels. Another added benefit is the mat doesn't slide forward as much (which pulls out the factory floor hook) since your heels don't drag on the carpet. Unfortunately, you have to poke four holes in the mat for the anchor screws (mated to Tee Nuts), but it was a better option than the ugly wear-spot that normally ends up there. Since I had a couple of extra sets of new factory floor mats on hand, I didn't mind "sacrificing" one for this easy modification.
Note: One item worth mentioning when it comes to floor mats and their tendency to slide forward, is the 2006 recall, 06V10800, issued by the National Highway Traffic Safety Administration (NHTSA). This involves the placement of a metal plate under the accelerator pedal in order to prevent it from getting snagged and causing unwanted acceleration. Hopefully there aren't any Mustangs out there that have missed out on this, but you can at least pick up the plate from Ford (3R3Z-130B59-A) and add it yourself if you are the DIY type.
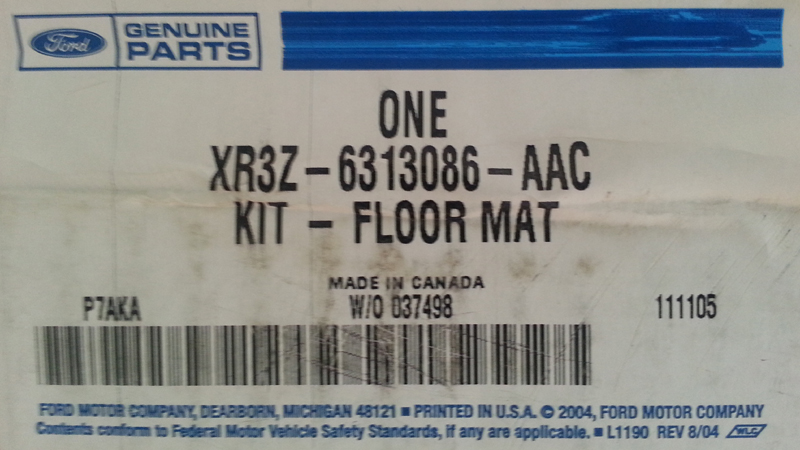
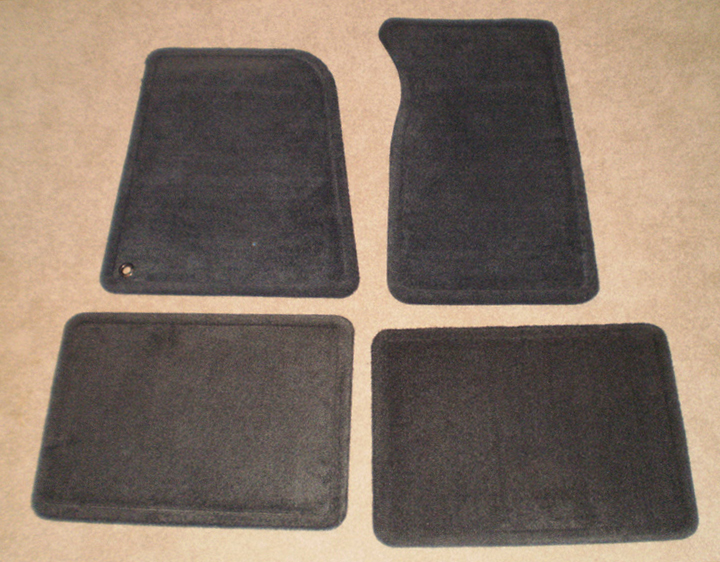
As for mats - and more trivia - there was a time when you could get a set of four, complete with a Cobra logo, right from Ford (actually, one version in '99 and another in '01). Unfortunately, the Terminator only came equipped with front mats from the factory, with the replacement pair available at one time as XR3Z-6313086-AAC. In addition, the 10th Anniversary cars came with their own set adorned with the related SVT emblem. In my case, I use the "Cobra" set only for car shows, but keep the original set and spares for safe keeping. Just to reiterate, Ford used the names of their color interchangeably: Midnight Black & Dark Charcoal are the same.
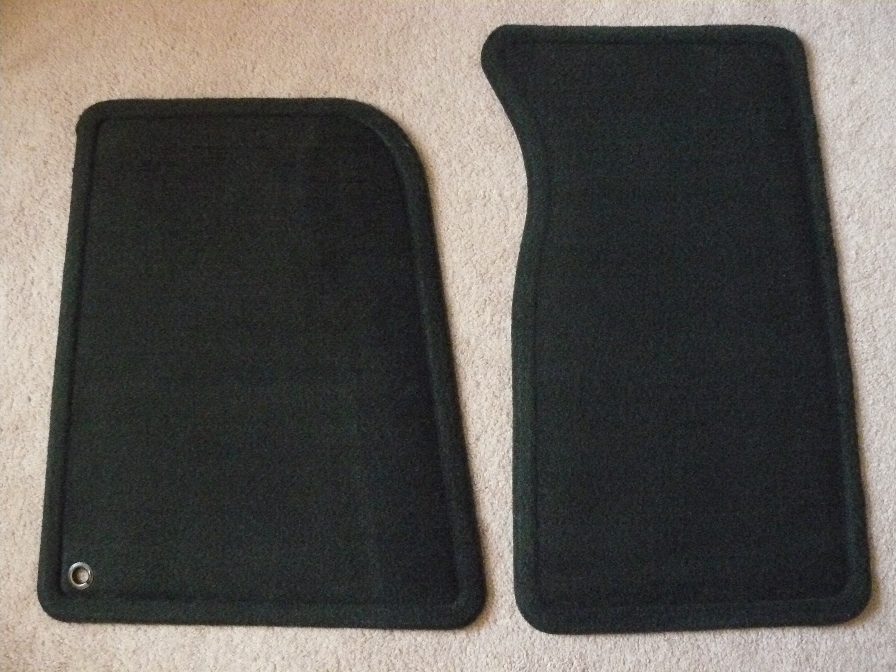
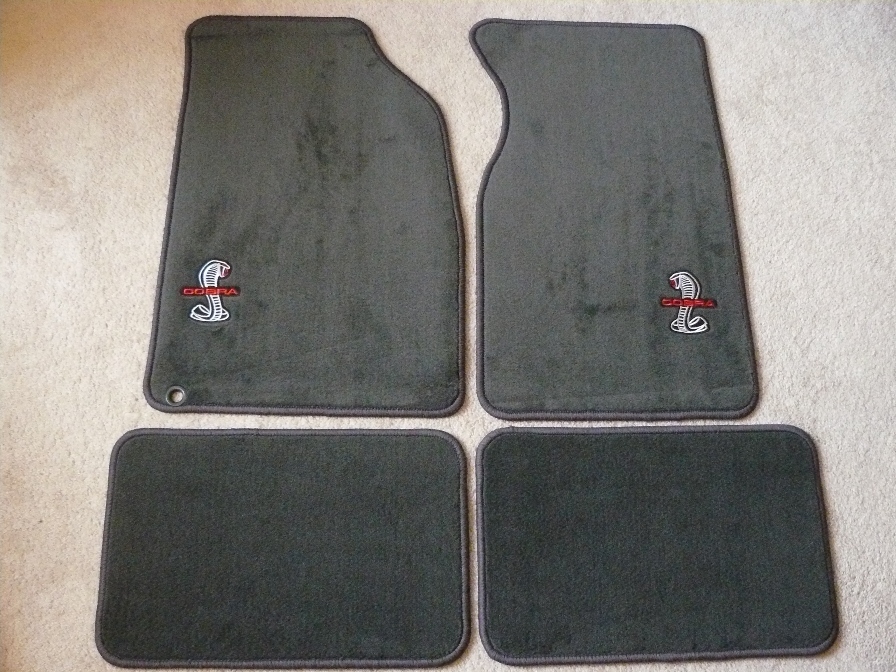
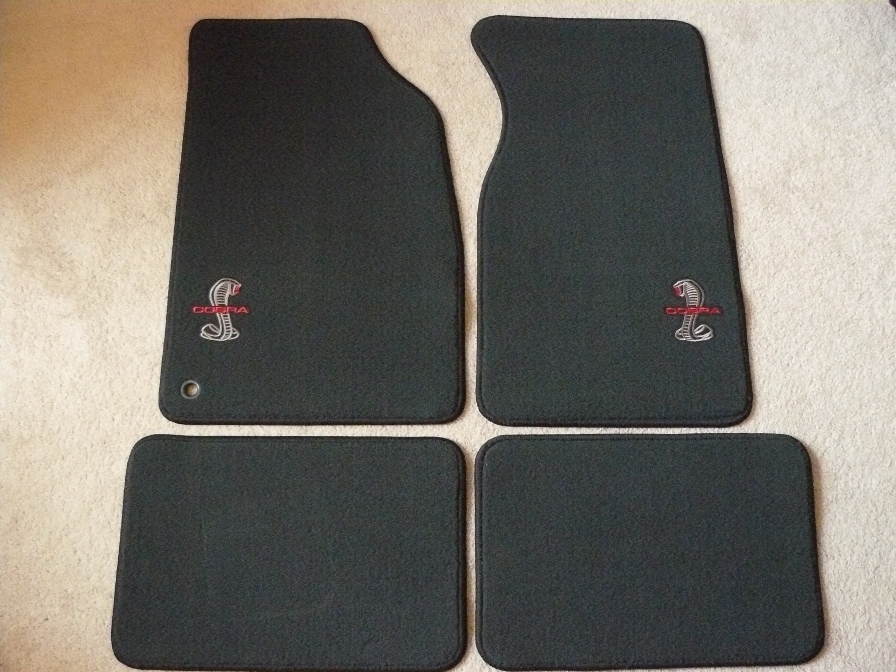
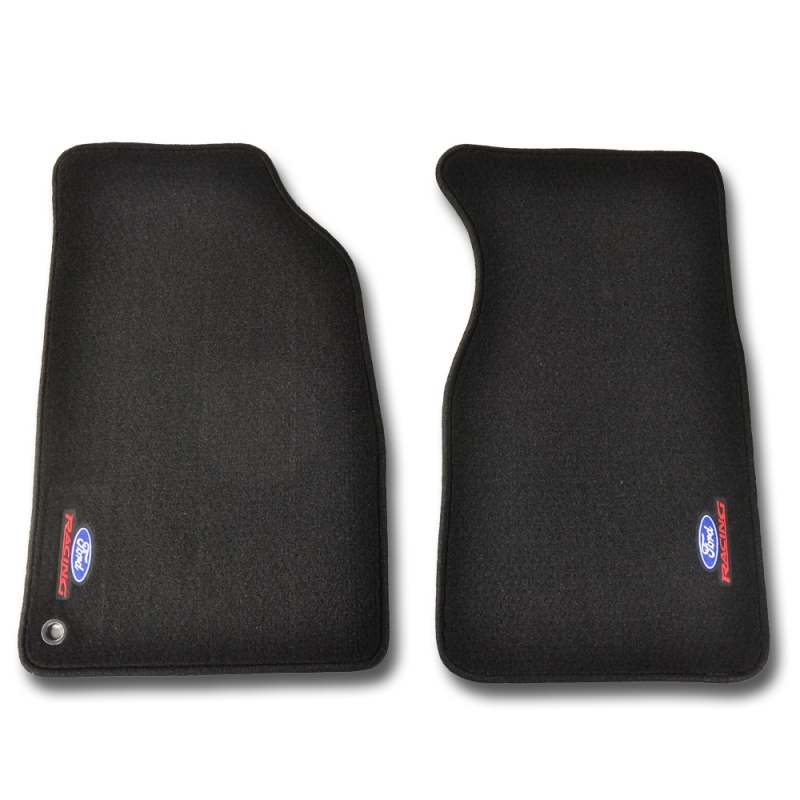
The sets pictured above, from left to right, are: OEM, Cobra ('99), Cobra ('01), and SVT 10th. I know the OEM and 10th mats were made by Collins & Aikman, but they went out of business in 2007. As for the Cobra mats, there were the two versions due to a slight change to the tint in '01 (new supplier?), but I have never been able to find out who made them. As an aftermarket alternative, I'd have to say that the only decent option out there (as far as color matching) would be Auto Custom Carpet. If you aren't picky, there is a nice pair in black (M-13086-B) made by Ford Racing.
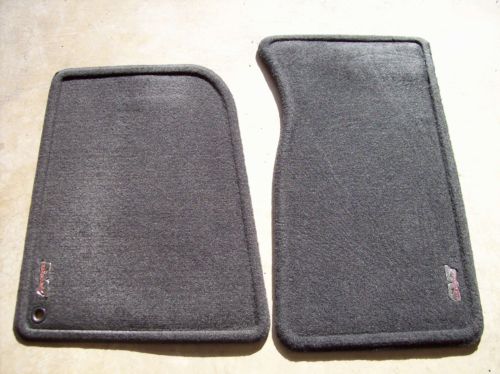
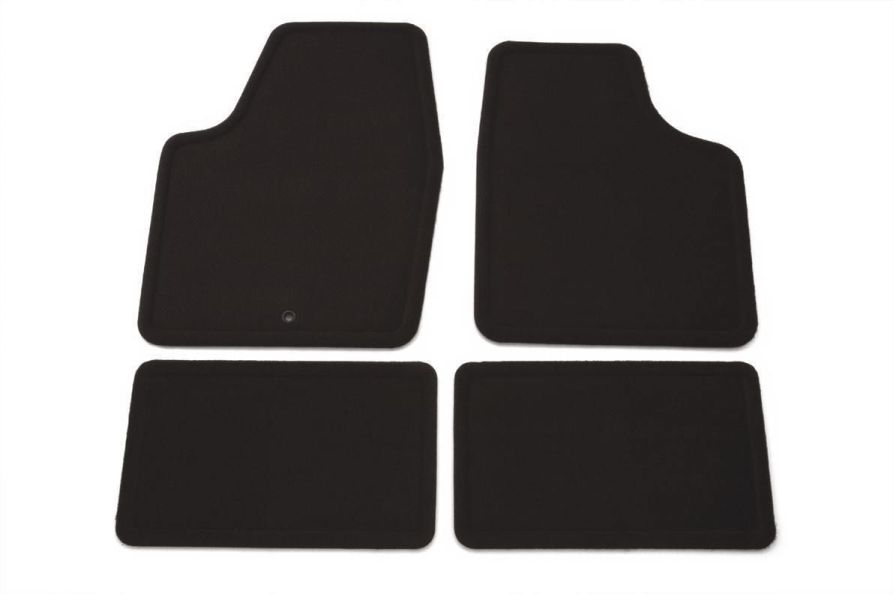
After all that, you might be bound and determined to only use OEM mats in your car, yet still wish there was a way to have four instead of two. Well, that is actually possible, and believe or not, there are two solutions, one of which comes from GM (yes, General Motors). The '06-'13 Chevy Impala actually uses a rear mat that is almost an exact match to our factory front mats. See for yourself in the picture below left: those are OEM Mustang front mats with the Impala rear pair. Although GM calls the color "Ebony", it is so close to Dark Charcoal that most people would not notice. Their mats come in a set of four, under the GM part #25795457, and can be found on eBay or through various online vendors for a reasonable price.
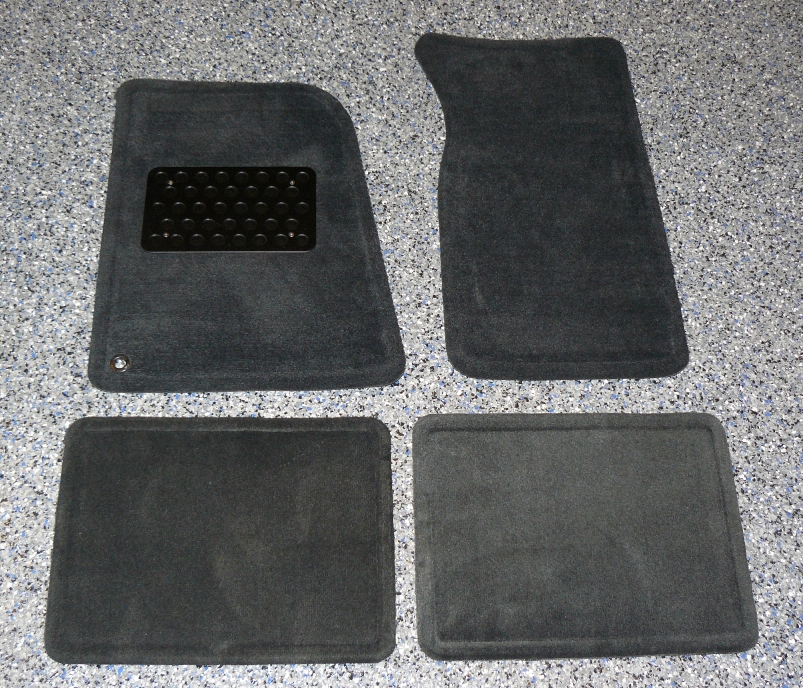
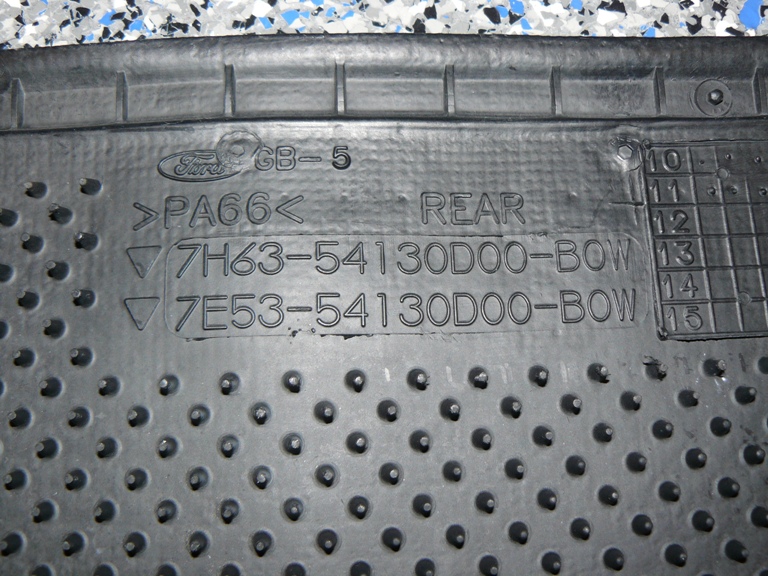
The other option, above and to the right, also borrows rear mats - this time from a '10-'12 Ford Fusion, Lincoln MKZ, or Mercury Milan (shown with my current front mats). Even better they are an EXACT color match - Dark Charcoal - with interior trim codes ending in "W". Just like the GM mats, you can find sets of these on eBay, or you may be able to find a new set of four from Ford, AE5Z-5413300-AB (probably easy to sell the front set to an actual Fusion owner). If you get your hands on these rear mats and want to be sure if they are correct, just take a look at the engineering numbers on the back to verify. However you make it work, it's still pretty cool that there are options out there to keep your rear carpet completely covered!
Note: Just to be clear, these rear mats are not going to be a perfect fit for all applications. This will depend largely on what seats you have since the rear mounting point of the front seat track may be in the way. In my case, the Fusion mats are an absolutely perfect fit since my seat bases do not use the factory plastic covers over the rear mounting bolts (there is a picture on my Recaro Seats page). If you want to get an idea what may work, the Impala rear mats measure 19 x 11-1/2", and the Fusion rear mats are 18 x 13-1/2". To put those dimensions in to perspective, the rear mats that came with the "Cobra" sets (and those that once were available through Ford) are 18 x 12".